- Follow the general instructions to prepare for installation from seed.
-
Add a new project (example: headlines) to Workbench or choose an existing project.
- Create the Antdepo depot for the project (if necessary). Example:
$ depot-setup -p headlines -a create
.
.
.
Calling Get-Properties from the Managed-Entity module for node: localhost
- Create a ProjectBuilder object to manage packaging the libraries module. For example:
$ ad -p headlines -t ProjectBuilder -o elements -c Register -- -basedir ${CTIER_ROOT}/src/elements/modules -installroot ${CTIER_ROOT}/src/elements -install -description "Elements module library builder"
.
.
.
For more information about this object run: ad -p headlines -t ProjectBuilder -o elements -c Get-Properties -- -print
[command.timer.Deployment.Register: 5.814 sec]
-
Download version 0.9 of the Headlines Zip file from ModuleForge and unpack it into your CTIER_ROOT.
- Download version 0.9 of the Elements seed Java archive from ModuleForge.
-
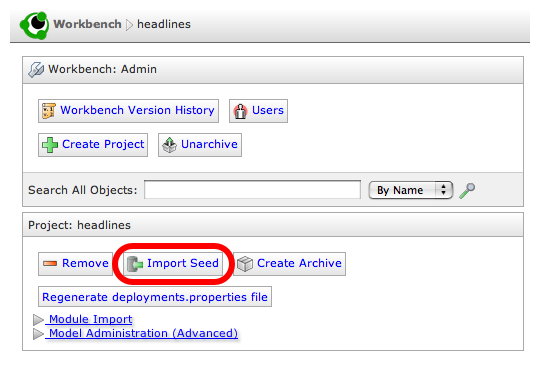
Whether downloaded or built from source, use the "Import Seed" option from the Workbench administration page to upload the seed file to your project.
-
Populate the project with the Headlines demonstration's sample objects using the provided Project XML file. For example:
$ ad -p headlines -t ProjectBuilder -o elements -c load-objects -- -format projectxml -filename $CTIER_ROOT/demo/headlines/objects/project.xml
.
.
.
Executing batch update ...
[command.timer.load-objects: 10.715 sec]